For the past five or six years I’ve fussed with making sourdough bread. I’ve had a couple of starters during that time. Two of them, I killed and then the current one, “Bread Astaire”, I’ve had for about four years now.
During this time I’ve had inconsistent luck with my breads. I’ve messed with recipes and read a jillion “sourdough beginner” websites and still continued to fail.
Then, after a LOT of trial and error, I figured out the problem wasn’t the recipes, it was the starter! And, apparently there are a LOT of tiny but VERY important details that I guess folks on the internet just assume their readers know.. but I sure didn’t!
Anyway, here’s what I learned and along with step by step instructions and photos to explain exactly how to take care of your starter.
Please note that this is assuming you have a starter already. If you don’t, there are a lot of sites on how to start a starter. You can also purchase a fresh or freeze dried starter or ask around and very likely you have a friend who will share their starter with you. Sharing a starter is something most sourdough bakers really like to do! (My friend Pam has Bread Astaire’s son she calls Breadrick the Great!)
Here’s what you will need:
- Living Starter – this means it’s not still freeze dried or black or something. Should smell pleasantly sour, not rotten or fermented. It may not be very bubbly but that’s OK because we are going to feed it and that will make it bubbly again.
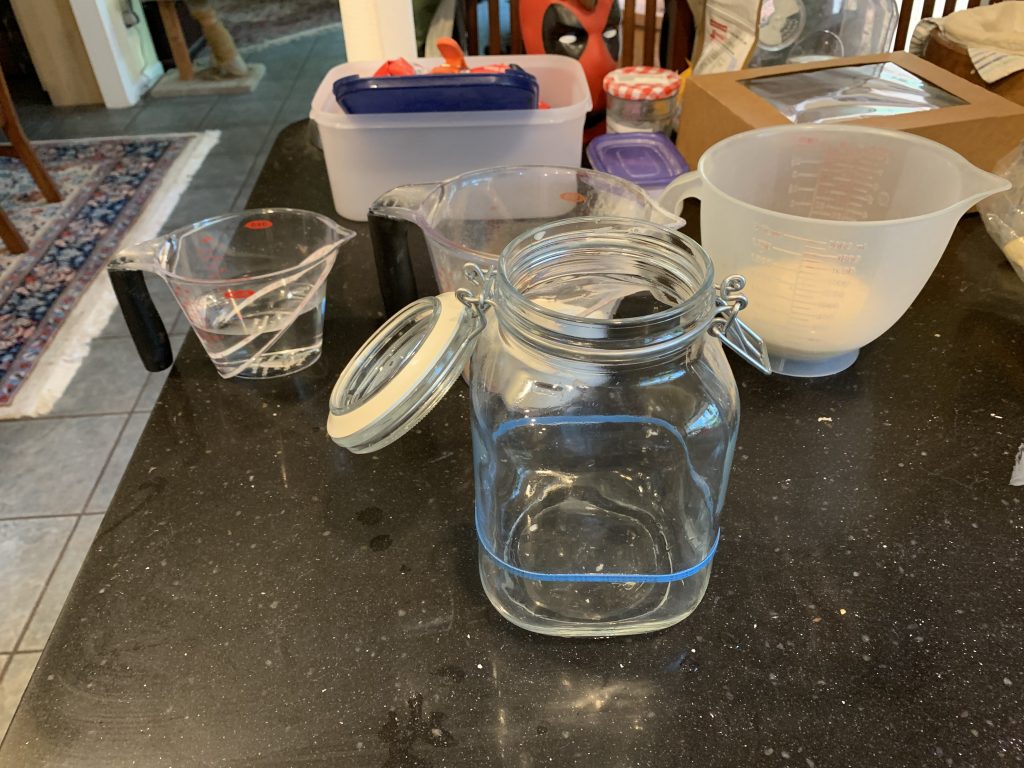
- Sourdough container – This is where your starter lives when you aren’t using it. It must be big enough to hold a little more than double the amount of starter you usually keep . I use a 2 liter, glass jar with a rubber seal.
- Scale -You must have a scale that works, measures in grams and is able to “zero out” when you put a container on it
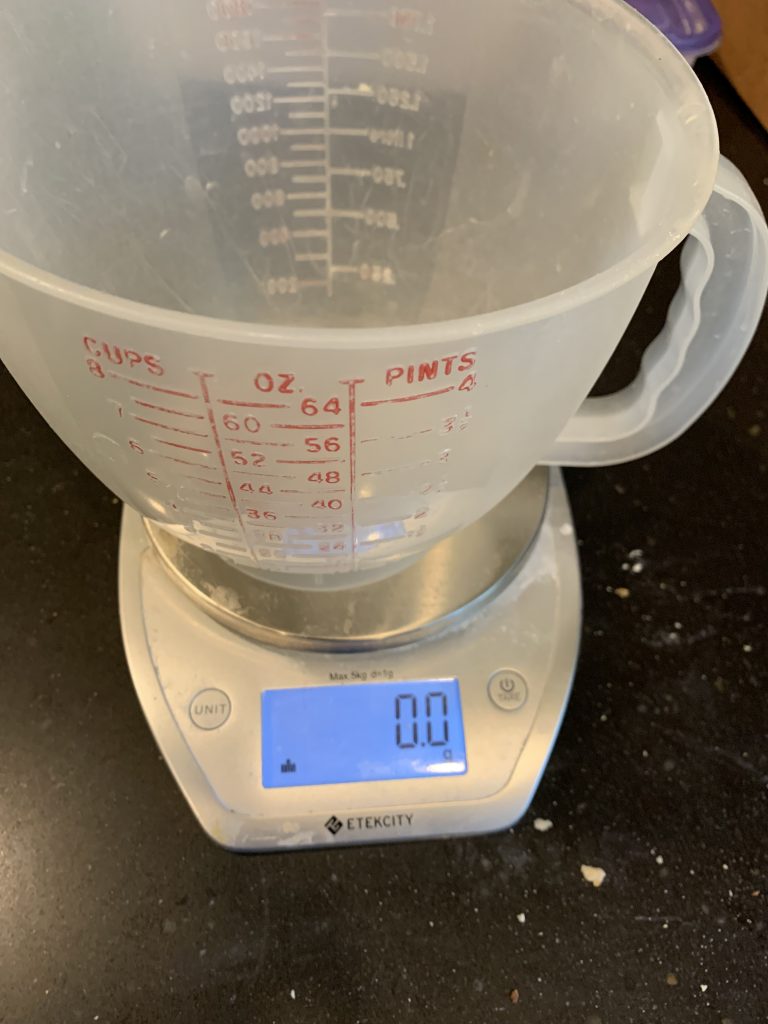
- Large mixing bowl – preferably one with a pour spout to make moving the starter around easier.
- 2 medium mixing bowls or measuring cups – I use a 2-cup measuring cup and a 4-cup measuring cup.
- Whisk
- Wooden spoon or spatula
- Paper towel
- 2 rubber bands big enough to go around the jar (I like the ones I get off the bunches of asparagus from the grocery store!)
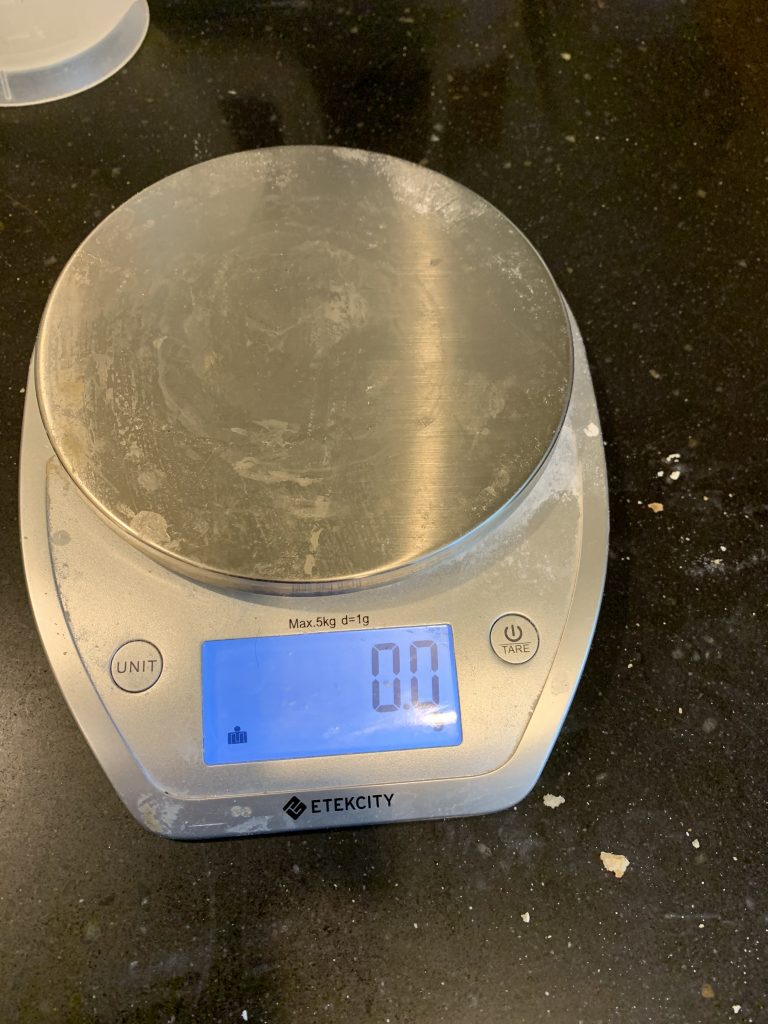
STEP 1
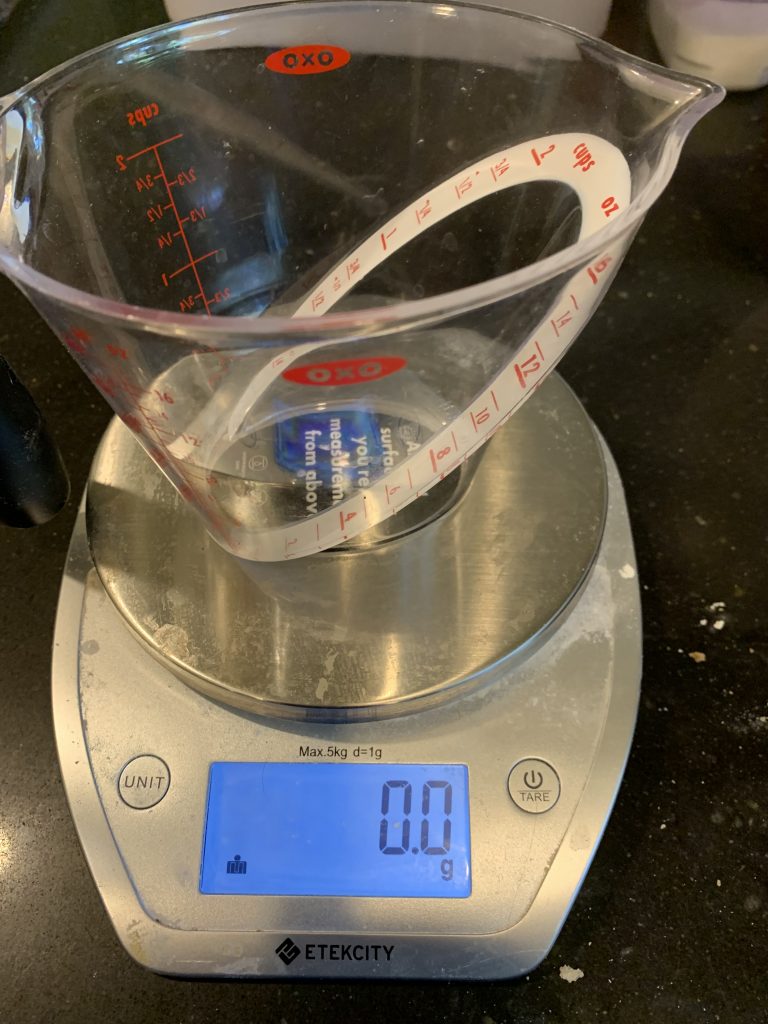
Put your mixing bowl with a spout onto the scale and “zero it out”
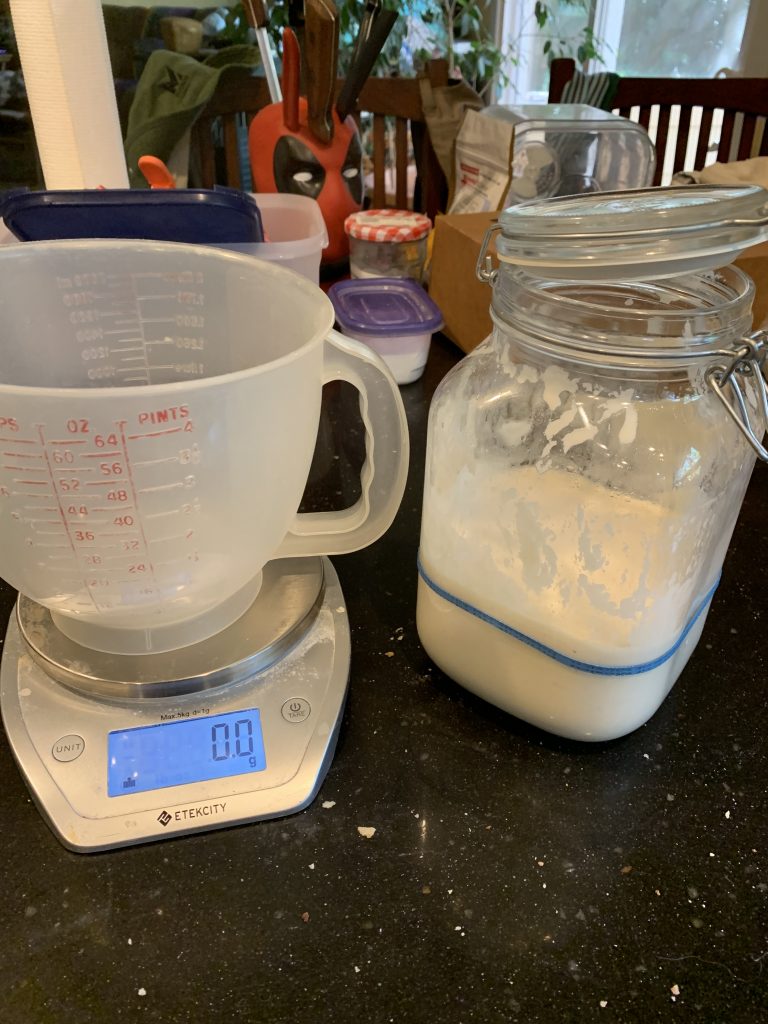
Step 2
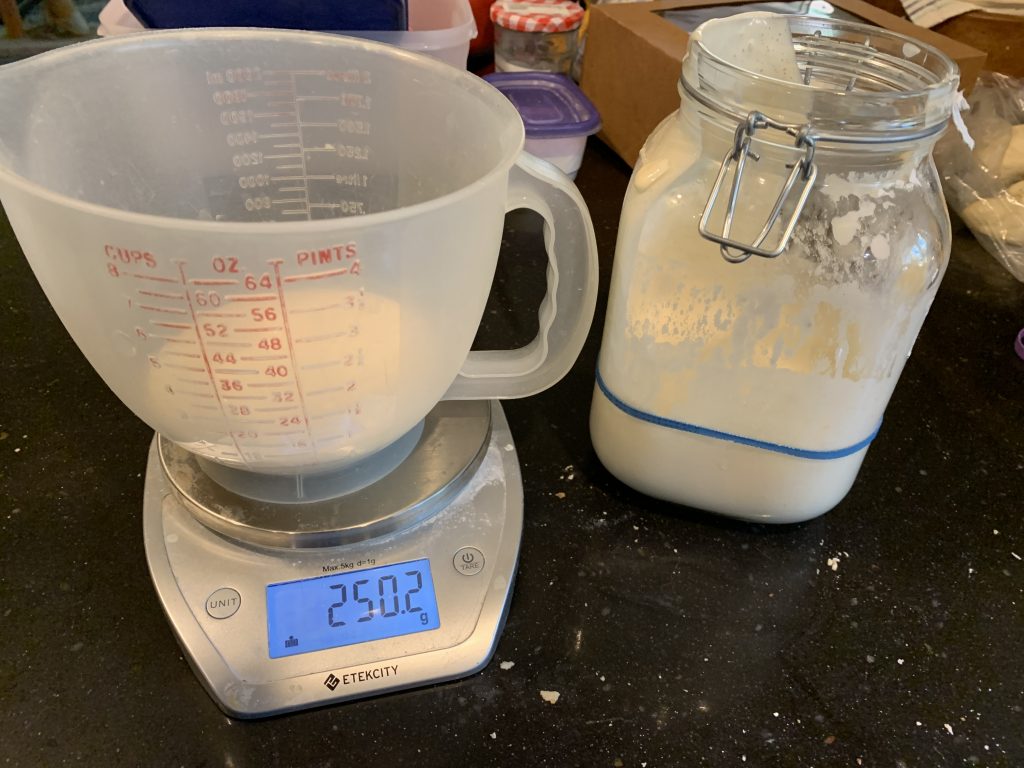
Take your hungry starter and measure an amount into the mixing bowl. I use 250gms because I have found that most recipes call for a cup of starter to make a bread but some call for two. Either way I want to be able to use whatever the recipe calls for and still have enough to keep my starter going.
Pour 250 grams of starter into your mixing bowl. Notice that there is still a LOT of starter left in the starter jar. That’s OK.
STEP 3
The trick to feeding a happy healthy starter is to ALWAYS use equal parts Starter, Water and Flour.
Let me repeat that:
When you are feeding a starter, always use EQUAL PARTS STARTER, WATER, AND FLOUR
This is the main thing I was doing wrong all that time. I was eyeballing the amount of starter I had left and/or just dumping a set amount of flour and water in, no matter how much starter I had used or how much I had left. And when I say “Use equal amounts…” I mean weigh all components to ensure they are equal in weight. Do not use volumetric measurements like cups. Always use weight.
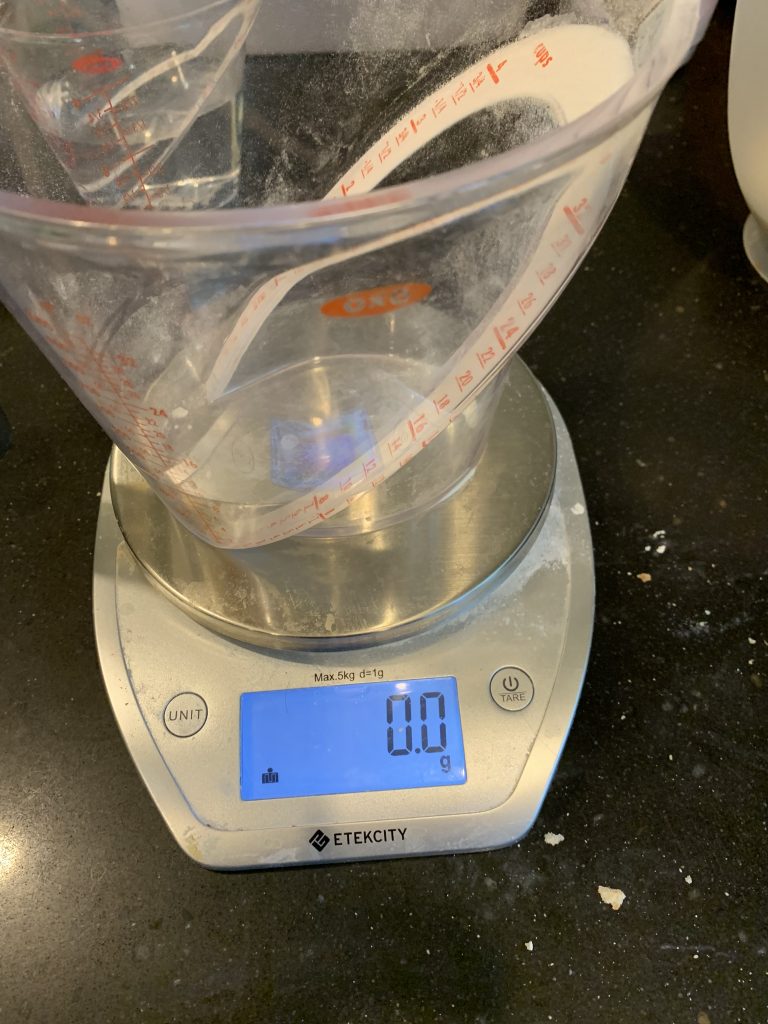
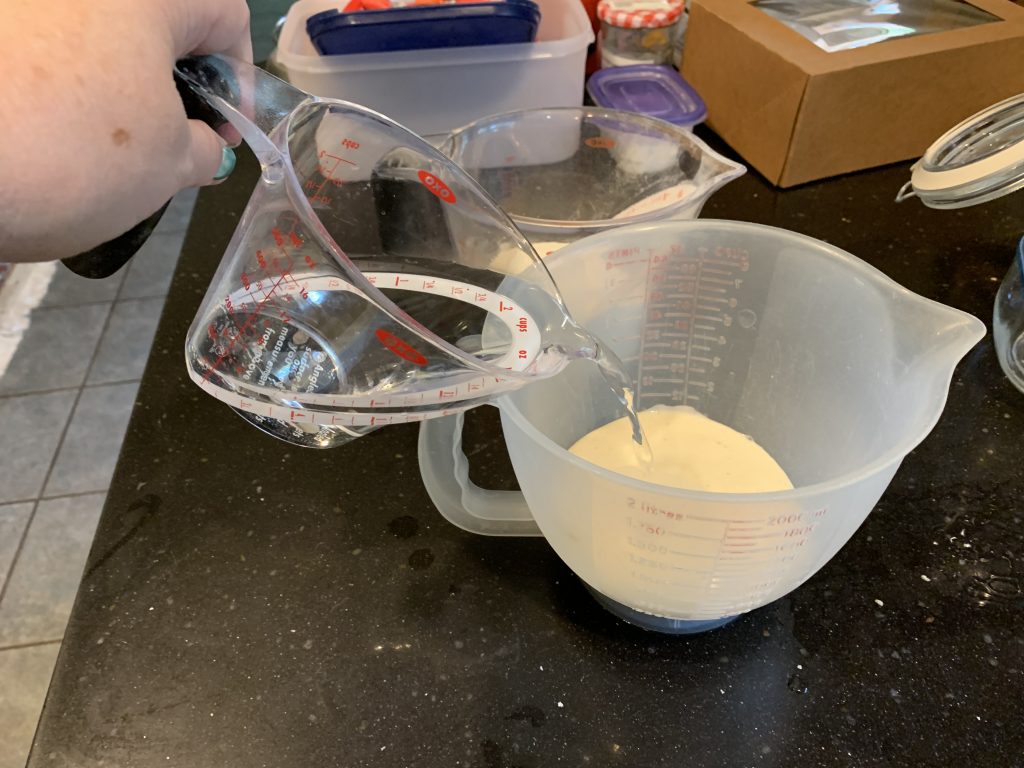
Now, because we measured 250 grams of starter into the main mixing bowl, we are going to measure 250 grams of warm water into our 2 cup measuring cup. Remember to first zero out the scale with the measuring cup on it.

STEP 4
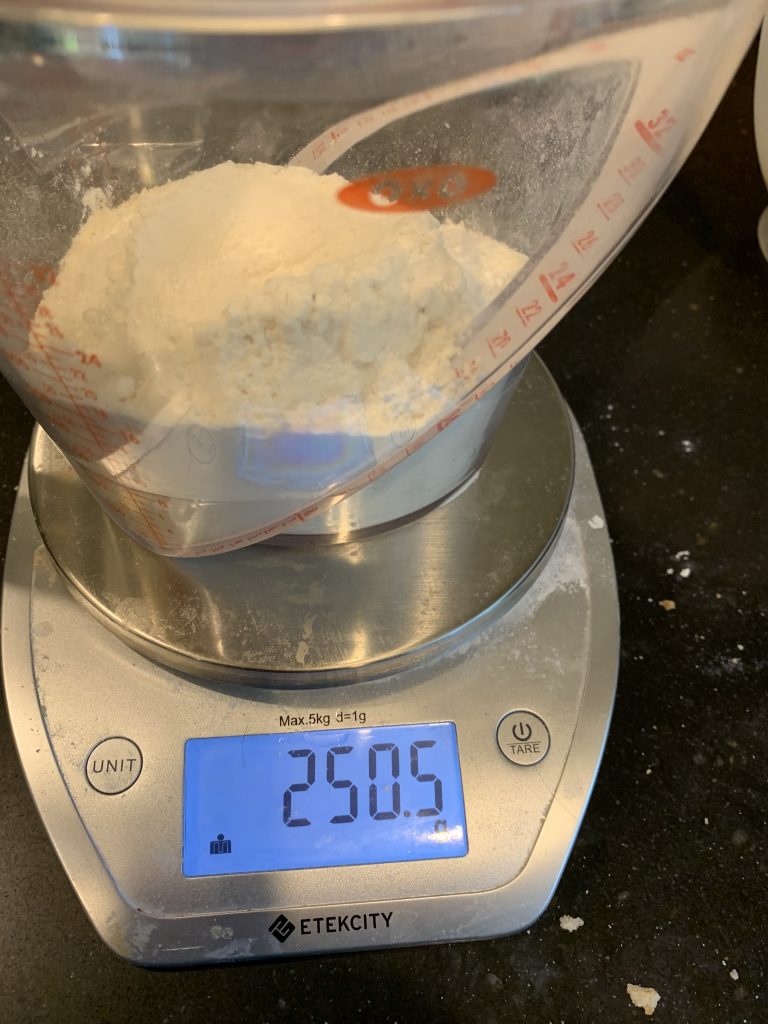
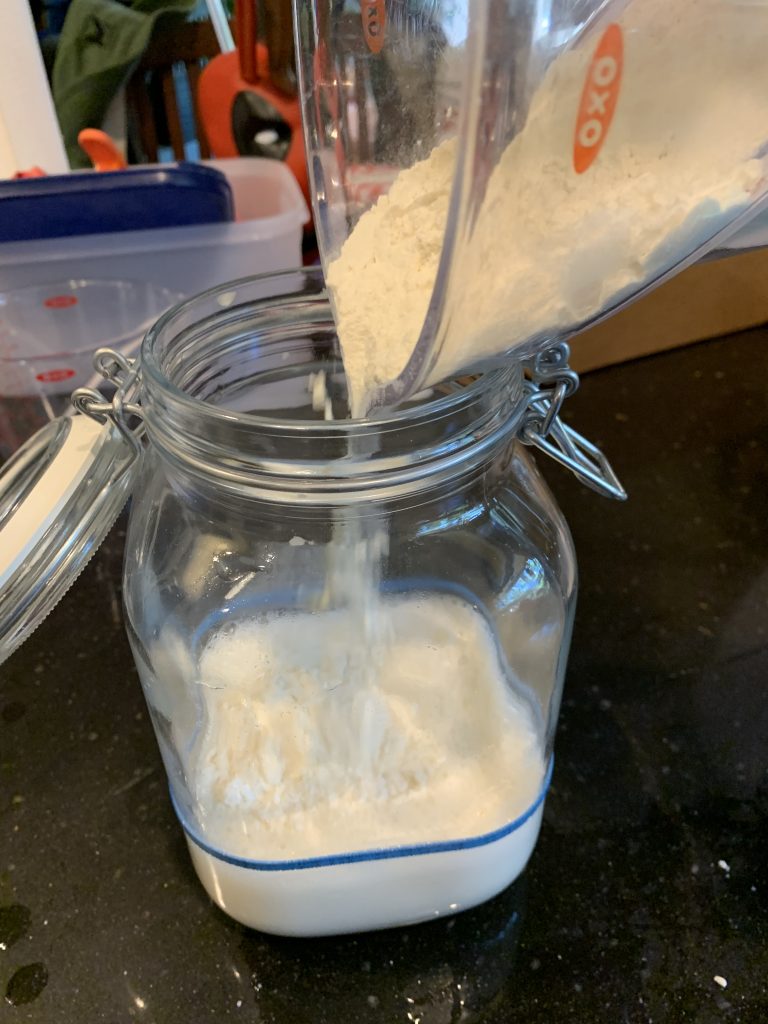
Put your four cup measuring cup on the scale and remember to zero it out. Measure 250 grams of flour into the cup.
STEP 5
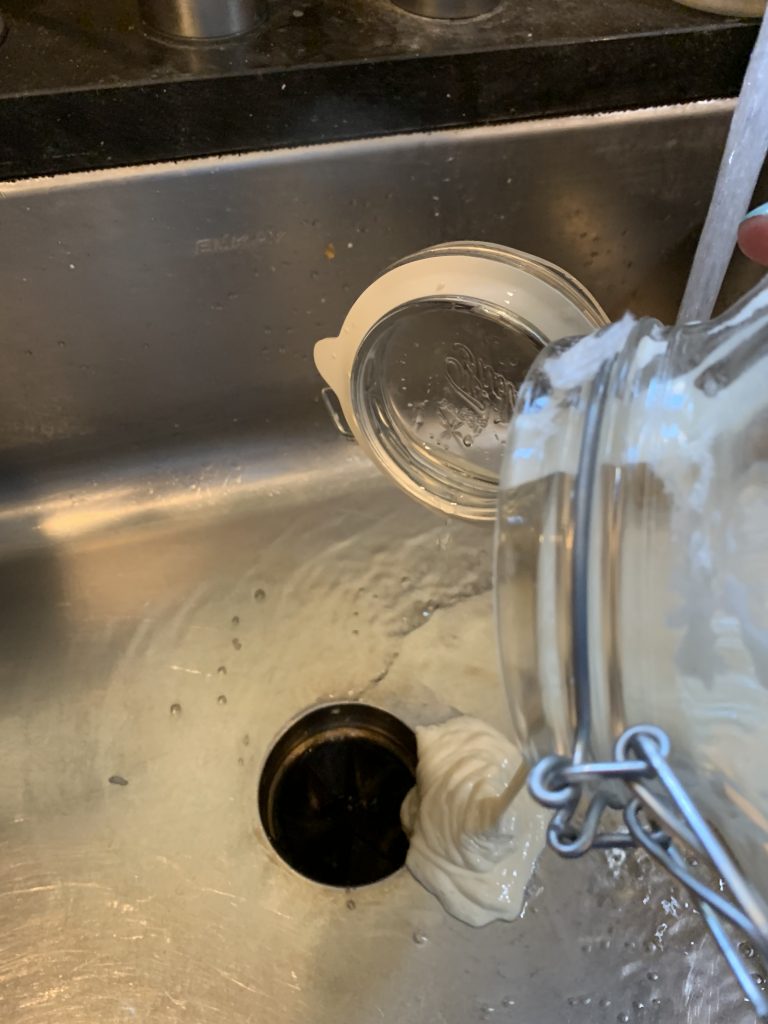
Now that you’ve got your feeding about ready, you need to clean out the jar that holds your starter between uses.
There may be a LOT of starter still left in that jar and that’s OK. That’s called the “Discard” and that’s what we do with it. We “discard” it by washing it down the sink.
Now if that makes you feel wasteful, there are a lot of recipes on line for things you can do with the discard. Things like waffles (my favorite!), or pop overs, or biscuits, or even chocolate chip cookies. But as often as you will be feeding your starter, you get pretty used to just pouring it down the sink.
Once you have dumped the discard out, wash out the jar. I try very hard not to use soap, just nice warm water but there have been times I’ve had to use soap too. Just make sure to rinse it really really well as any soap residue left behind will kill the yeast!
STEP 6
Now you have a nice clean starter home, 250 grams of starter, 250 grams of warm water and 250 grams of flour. (You might have noticed the rubber band around the sourdough jar. Don’t worry, we’ll get to that. )
Time to start combining them!
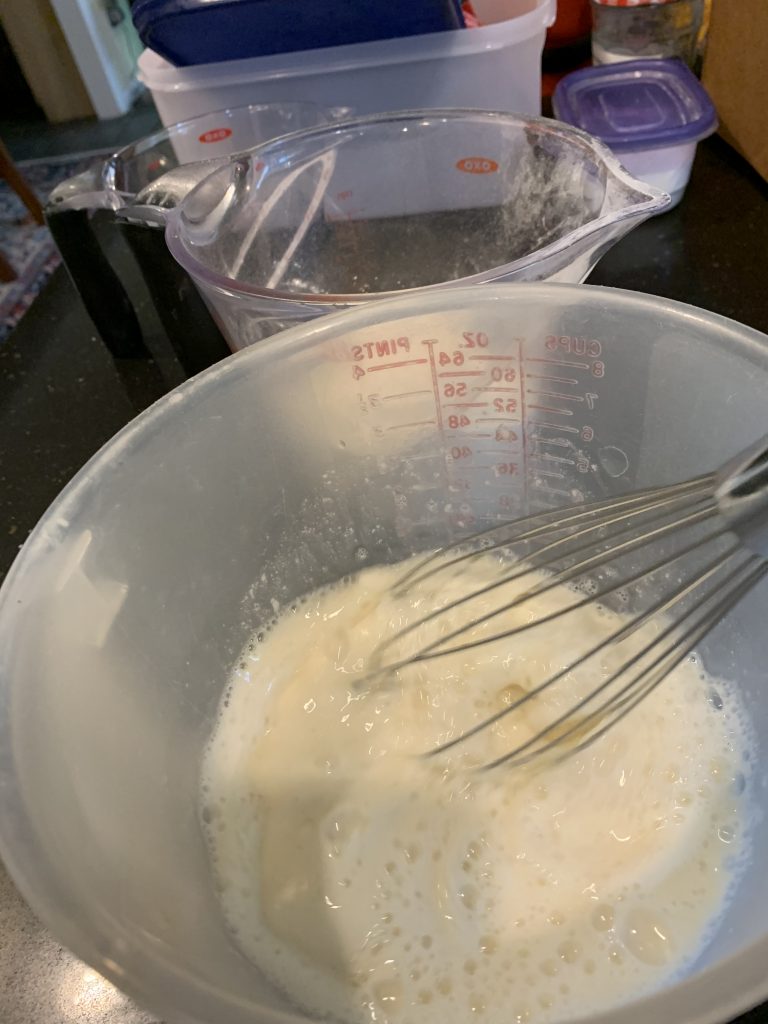
I start by adding the warm water to the starter and whisking it together.
STEP 7
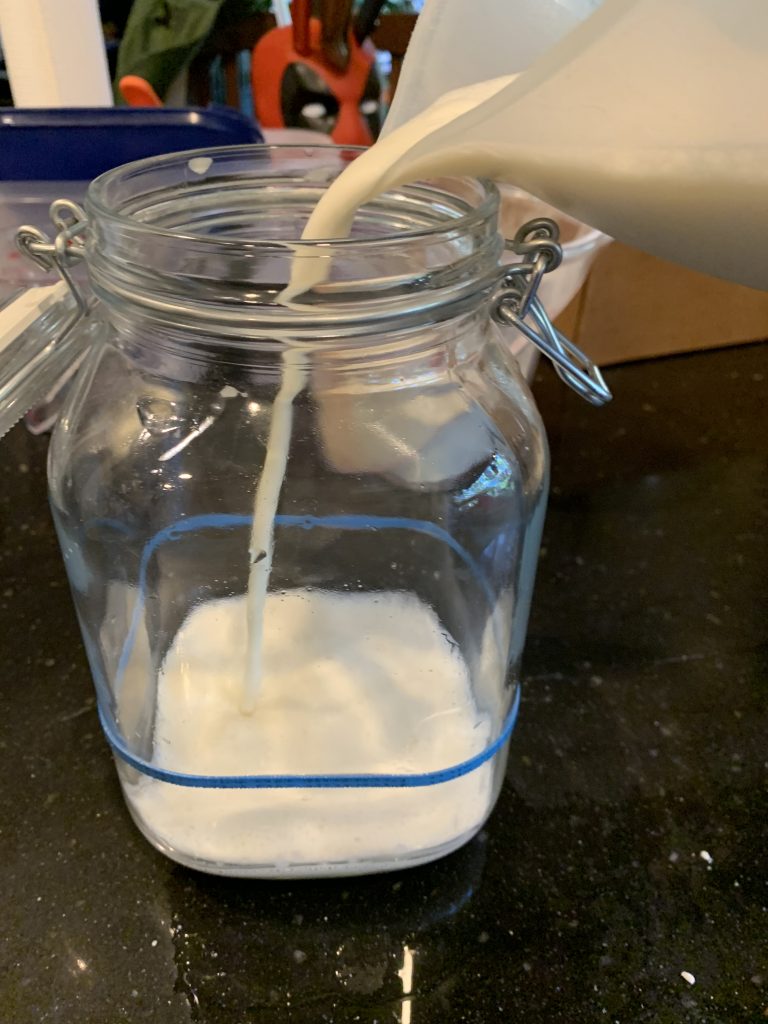
Once the warm water and starter are combined, I pour the liquid into the nice clean starter home. This is why it’s nice to use a measuring cup or mixing bowl with a spout.
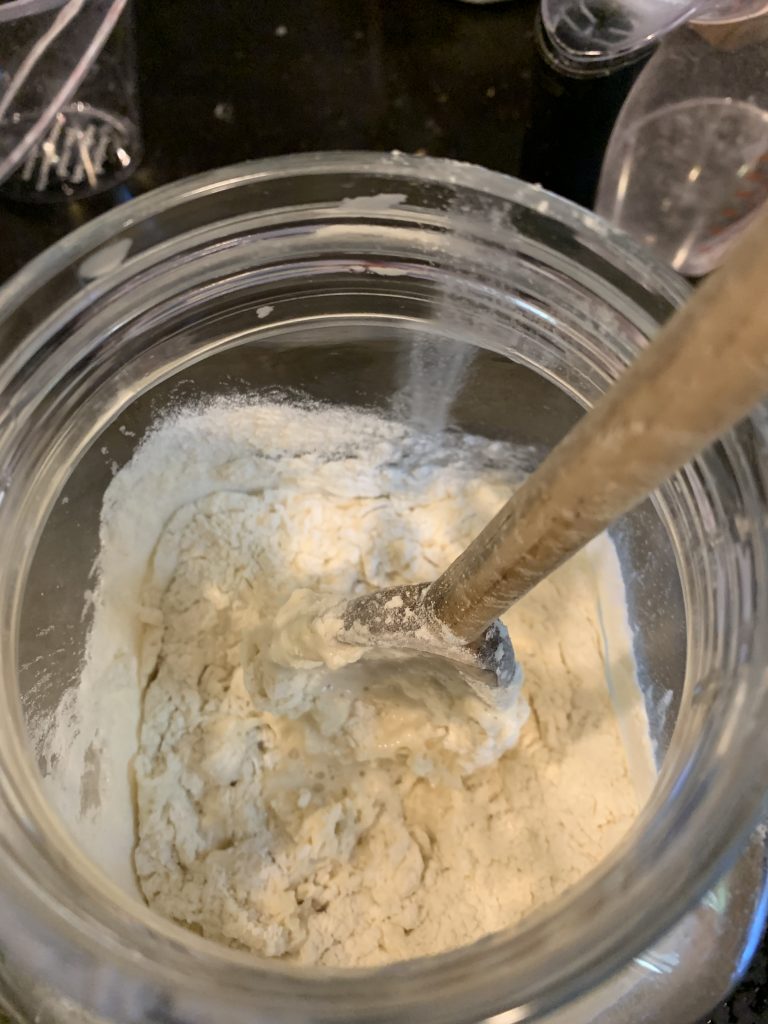
STEP 8
Once the water and starter combo is combined and in the starter jar, I carefully add the flour. Then, using the wooden spoon, I mix them together. It’s pretty thick, so mix carefully. You don’t have to make it smooth, but you don’t want any huge lumps of flour left.
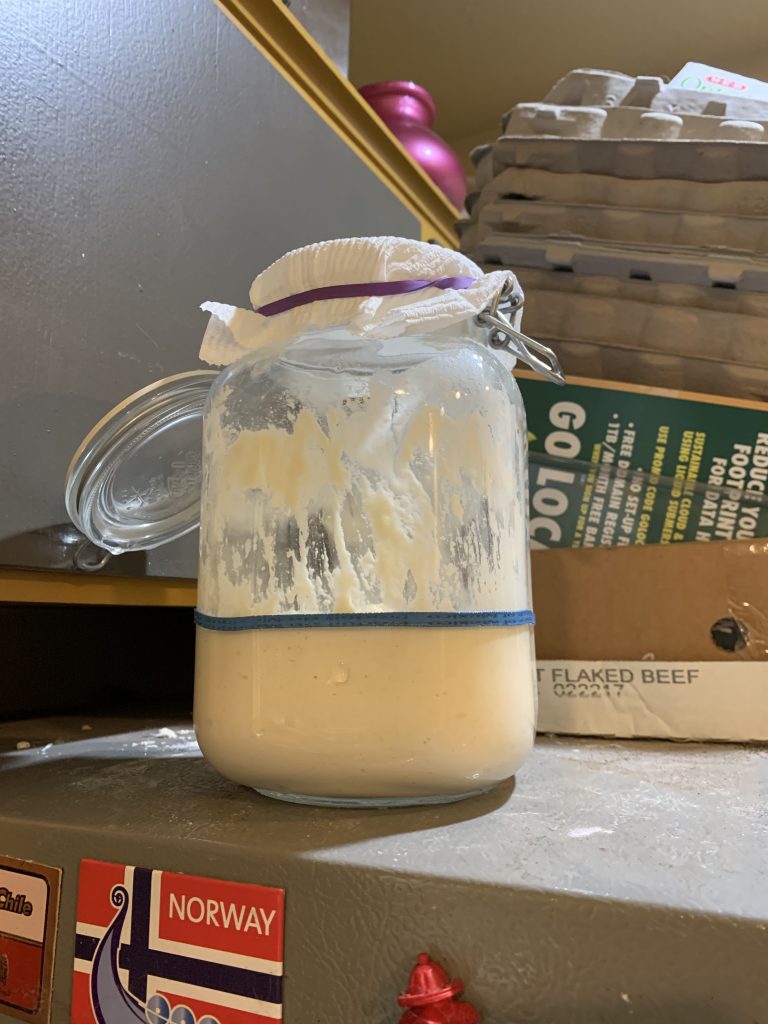
Once you have it all mixed together, take your spoon and roughly clean the inside of the jar enough that you can see the level of the starter. Then place your big rubber band around the jar at the level of the starter. This will allow you to measure when your starter has doubled in size.

STEP 9
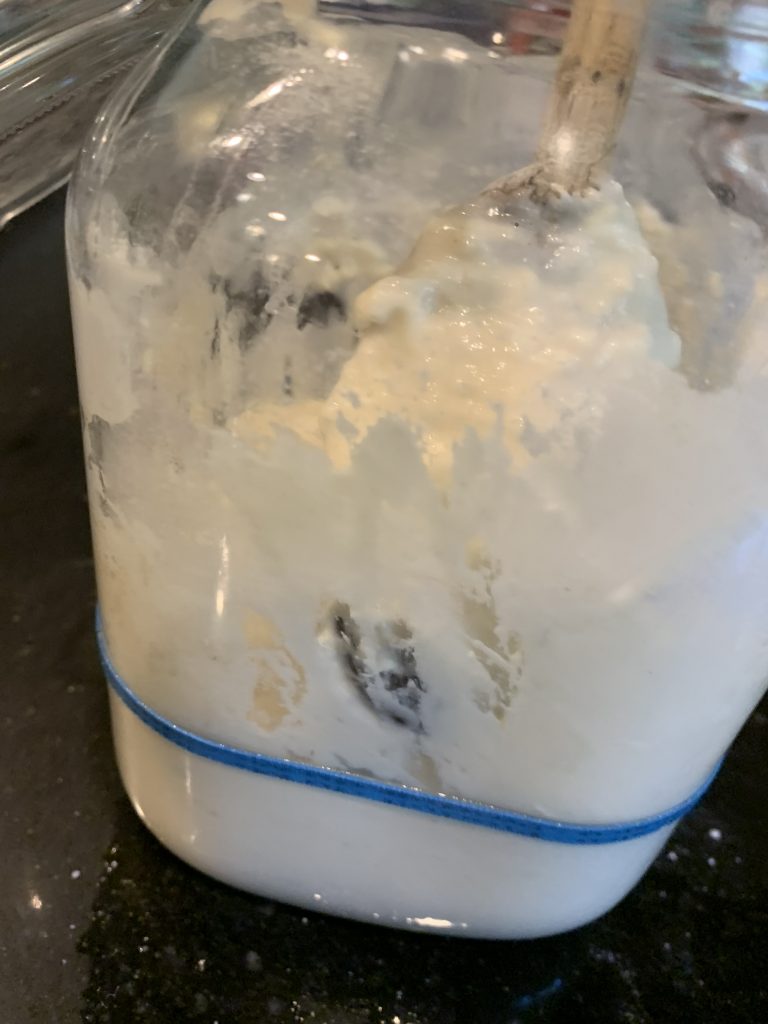
Now you have a freshly fed starter!
At this point, I cover the top of the lid with a piece of paper towel and secure it with a rubber band. I do this because I’ve found that just leaving the jar open dries the top of the starter out very quickly and also allows flies to get in to it. I am not going to even tell you how I found that out. ICK!
Once you have the paper towel over the top, you will want to put the starter someplace warm for it to grow. Traditionally this is the top of the refrigerator, but it’s up to you.
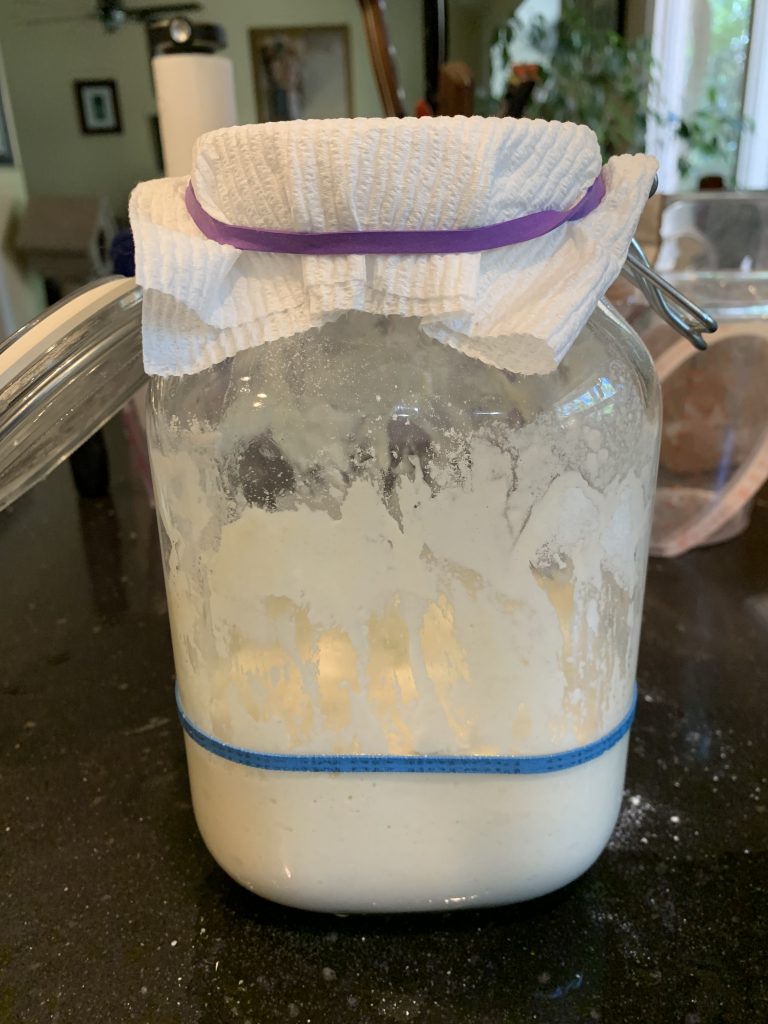
Now you just have to wait til it doubles in size. In my kitchen that can take anywhere from 4-8 hours.
And here is what it looks like when it has doubled in size!
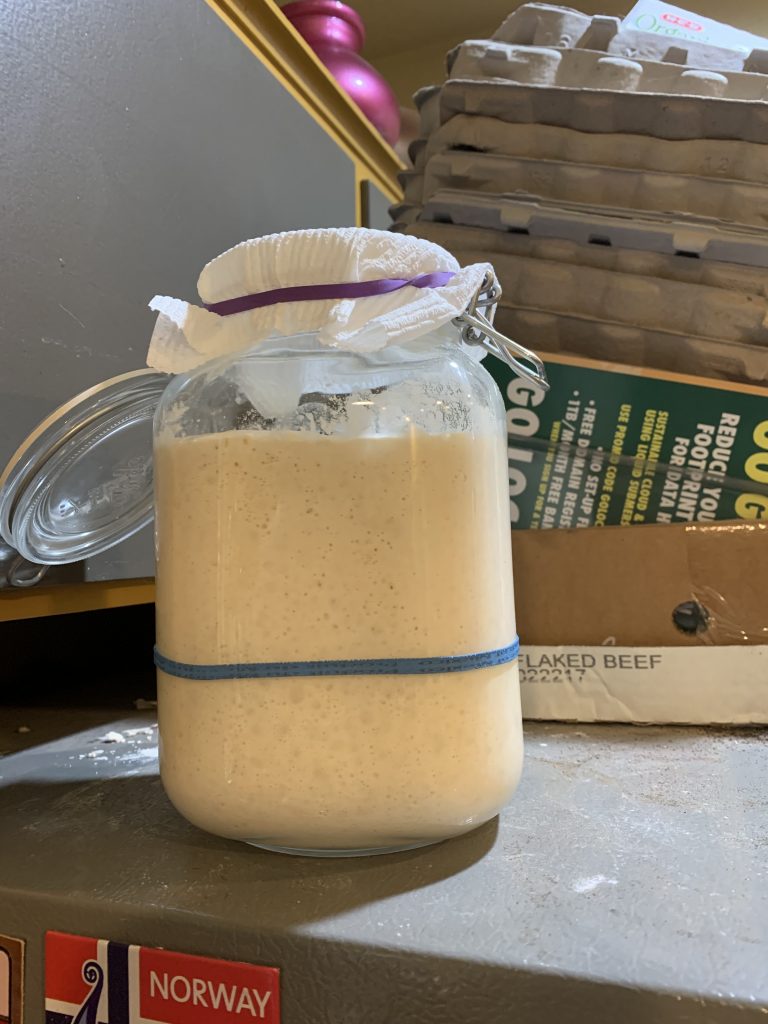
That is one happy starter!
This is what is meant when the recipe says use “active, bubbly starter.” This is another detail I didn’t understand. I wasn’t sure WHEN I was supposed to use the starter. Now I know 🙂
If you are going to use your starter, this is when you do it. In my case, I will take what I need then close it up tight and leave it on my counter until tomorrow or the next day when I will feed it again and make more bread.
OR, at this point you can seal it up and put it in the fridge for up to a month. I have found it a bit harder to “wake it up” from a time like that. I usually have to take it out, let it come to room temperature and then feed it. Sometimes it takes a couple feedings to get back to this level of happy.